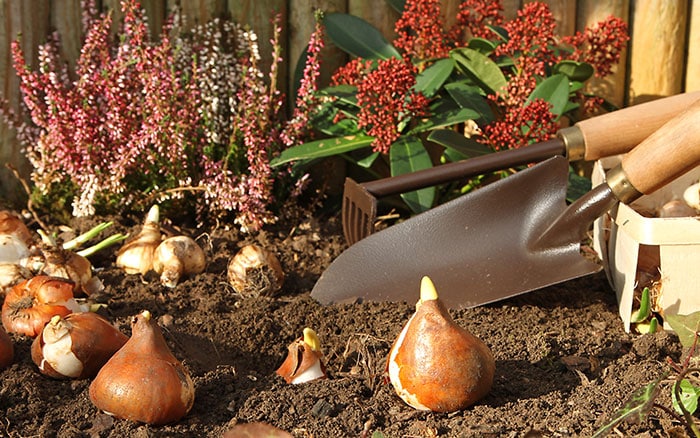
The unique thing with bulbs is you see them in Spring but can only plant them in Autumn. I am often asked questions about my design and layout of bulbs and when they are in flower. For those of you who have sent me questions on how people have had such long flowering times of their bulb containers this year or how have they managed to get so many bulbs in one location, I will demystify this by showing you layer planting of bulbs. This is a technique the experts use to maximise colour from one space…
You will need to keep hold of this blog and use it when the bulbs start arriving for sale in garden centres at the beginning of September.
There is a wonderful diversity at the heart of nature.
Just looking at bulbs – different bulbs perform best at different depths, and spring-flowering bulbs bloom at different times in the spring.
In your own garden there’s a great way to take advantage of this diversity, and it’s called layer-planting. I’m going to show you how it’s done.
Also known as ‘lasagne planting’, layering your flower bulbs in containers and borders creates an stunning, ever-evolving feature that maximises colour throughout the whole of the spring season.

Successful lasagne planting means that blooms start in January and continue all the way through until May – if you plant the right bulbs of course – without you having to replant several times.
You want to make at least three layers (you can do more if you’re feeling brave!) with early spring flowering bulbs at the top, mid-spring flowering in the middle, and late spring flowering bulbs at the bottom.
How to layer plant in containers
In the ground, bulbs need to be planted around three times their diameter apart, but in containers, bulbs can be packed more closely together. You do need to make sure the bulbs aren’t touching though, and aren’t touching the sides of the pot either.
1 – Buy a large container or pot – make sure there is a hole, or holes in the bottom for drainage. Line the base with clay pebbles. The bigger the pot better as the more bulbs you can fit in!
2 – Add a layer of compost to the bottom
3 – Put the biggest bulb or late flowering bulb at the bottom
4 – Cover this layer with a 5cm layer of compost
5 – Repeat this twice with smaller bulbs as per our recommendations below
6 – Once you have covered the last layer, give the container a good water
Layer planting in the border
If you are layer-planting bulbs in the border, you need to follow the same method, but keep them further apart. The benefit of planting in the border is that you can put more layers in!
The best spot is where perennials will have finished their cycle so you’ll need to do a bit of pre-planning. Over summer, when your garden is in full bloom, use a marker stick (coffee stirrers work really well) to mark where the summer’s perennials or annuals are. Come bulb-planting season, and the perennials have died out, you’ll be able to use your marker to know exactly where to plant your bulbs.
What to plant
Here are three of my favourite combinations for layer planting:
Top: Crocus
Middle: Hyacinth
Bottom: Tulip
Top: Crocus
Middle: Tulip
Bottom: Allium cristophii
Top: Iris dwarf
Middle: Narcissus
Bottom: Tulip

If you want a different combination, choose bulbs that flower at different times. You can also pick ones that perform best at different depths. It usually says on the packet.
Aftercare
Whether you’ve planted in borders, or keeping your containers and pots outside, you will need to protect your bulbs from squirrels. You can do this by covering the top of a pot with chicken wire, but a little tip I’ve found really works is grating some scented soap into the hole with the bulb – the stronger the better! It won’t hurt the bulb, but it puts off the cheeky burrowers.
Other than this – you need to keep the compost moist and, once flowered, you need to deadhead them as they start to fade, to keep the display looking bright.
If you have any more questions about how to plant bulbs, check out my FAQs.

Have been layer planting for years. Good to get other ideas. I plant a tulip at bottom often a Kaufmannia. Next a v early narcissi and top with Iris Reticulata. Often poke in Anenome bland and top with violas which cover pot till bulbs come through.
I am new to gardening, your cross section photos are very helpful.
Thank you.
love the layered planting ideas for bulbs. Thanksreally helpful.
Thanks for your help with planting bulbs in pot very useful will come back time and again for your notes