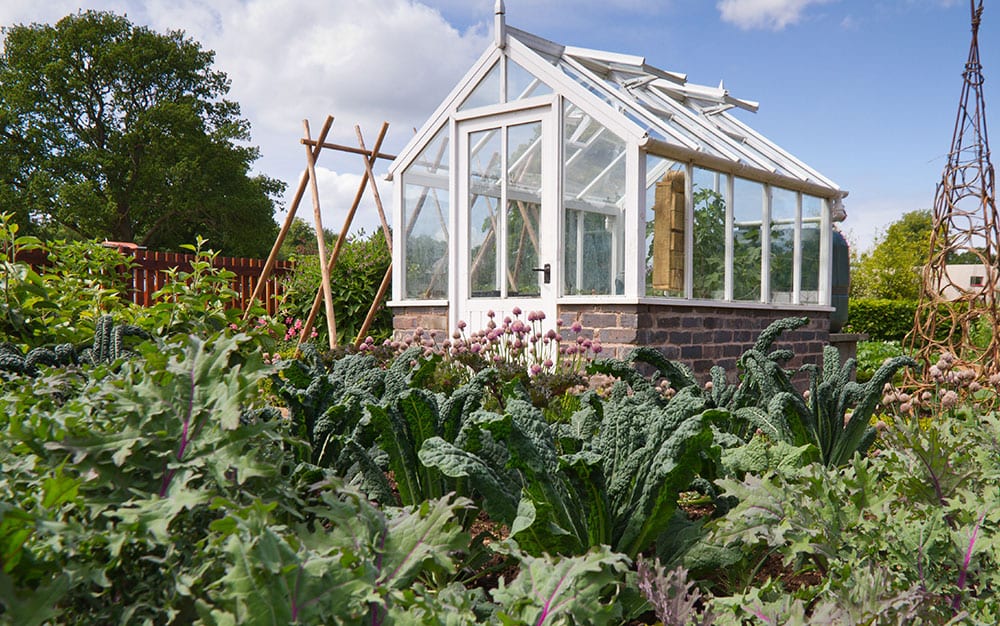
As winter approaches, you may be wondering how you can equip your greenhouse for the plummet in temperatures. Here’s a guide to greenhouse insulation…
In summer we use our greenhouse to help us sow seeds and get things growing. And then in winter, it’s a holiday home for our tender plants to escape the chilly outdoors, and bask in warmer climes. We can adjust the temperature, humidity and light levels to create the ideal conditions for whatever we like to grow, and even use it to convince fussy indoor seedlings that the outside life is really for them.
Winter
In winter we need our greenhouse to be warmer than the outside air temperature so that less hardy plants can survive in there. We also need to make sure our greenhouse is getting the maximum amount of light during those shorter, darker days.
Tips
I’m going to share some tips with you on how to insulate your greenhouse – how it can save your plants, and save you money too! A greenhouse can be like a cosy duvet for your plants, so let’s look at how to tuck them up tight for winter.

Why to insulate greenhouses?

A greenhouse will only stay 2-3°C above the outside air temperature. That’s fine for a mild frost, but if the temperature really plunges then your precious plants could be in trouble.
Heating
Many people end up running a greenhouse heater during the winter, however if you can insulate your greenhouse you can save a tonne of money on your electric bill and still protect your plants. With good greenhouse insulation you can bring that temperature up to 5-6°C above the outside air, which will serve for all but the most extreme circumstances.
Step One
Cleaning and Maintenance
Before Jack Frost comes around, first thing to do is make sure all of your seals are in good order. And you have no cracked panes letting draughts in. Carry out any repair work and then give everything a good clean. Make sure the glass especially gets cleaned. As your plants need all the light they can get over the winter months. Clear out containers of old soil and compost that could be harboring pests and disease, and wash thoroughly.


Step Two
Adding greenhouse insulation
When insulating your greenhouse make sure you consider your plants and their different needs. Some plants need a much warmer environment over winter than others. And there are several ways you can accommodate this. I’ve outlined below a few different insulation methods and how they can be altered to your plants needs.

Bubbly Time
It’s time to break out the bubbly! Don’t get excited, not that kind of bubbly – I’m talking about horticultural grade, UV stabilised bubblewrap. This stuff is great, with large bubbles to trap the warm air, and it should last at least three years.
It’s so easy to put up, simply measure the size of your panes of glass, cut the bubble wrap to the appropriate size and then fix on using strong tape. Leave the roof of your greenhouse so that plenty of light can still get in.
Using bubble wrap also adds an extra protection against draughts, and you can use it to divide the greenhouse down the middle if you need to separate plants with different needs.
Cardboard
Another easy and cheap method of greenhouse insulation is using cardboard. Line the bottom two feet from the ground with thick cardboard, and for extra protection stuff straw down the back of it. This base cladding will help keep the creeping cold fingers off of your floor.


Fleece
When the temperature really dips then horticultural fleeces are a superb. The added layer that you can give to specific plants that need warmer temperatures to survive.
You can easily pick these up from your garden centre. Just hang them over groups of plants, wrap them individually, or do both for extra protection.
But do keep in mind that plants will needs some light too, and the more your wrap them to keep them warm, the more light they are losing.
Step Three
Heating Methods
If you are cultivating very tender plants, or live in a colder region where longer periods of freezing temperatures are expected, then you might also want to think about heating your greenhouse. This will give you some extra peace of mind. You can buy electrical heaters and simply switch them on when the weather dips. Insulating first will still save you money in the long run because it means you won’t need the heater on all winter.
Water Butt
A cheaper way is to bring in a large tub or water butt, fill it up, and you’ve got a low grade, natural heater ready to go. What this does is absorbs the days warmth and then slowly releases it through the night. It wouldn’t be enough to warm your hands, but it is enough to help keep the frost at bay.
If you are using any time of heater in your greenhouse, consider all your plants and make sure you won’t be harming some of the others. You can create greenhouse heating zones using the bubble wrap to help separate out plants to give them the exact conditions they need.

Save time and money
Hopefully with these tips you can save a tidy little bundle. And you can be safe in the knowledge that your summer loving plants are happy in their winter home. It’s a great job for a crisp sunny day, and once you’ve finished you’ll get a real sense of satisfaction. Plus, if you get on top of cleaning and maintaining your greenhouse now, you’ll have much less work to do come spring.


Leave A Comment