Some of your fruits, vegetables and herbs will last longer and taste fantastic when dried. Preserve your harvest for longer by drying them for long-lasting tasty snacks.
Why should you dry your food?
The simple reason drying food out makes it last longer, is that without moisture, bacteria, yeast, and mould cannot grow. This also slows the enzymes active in the food, preventing it from breaking down.
There are also benefits to eating dried foods. They contain a higher concentration of sugar and nutrients within a smaller snack, giving a great quick energy boost. Also, they contain a higher concentration of fibre and more antioxidants per gram. And the final bonus, is you get a much more intense flavour.
Drying (or curing) foods has been practised for thousands of years and likely started as far back as 12,000 BCE. In the Middle Eastern and Asian cultures, foods like fish, game, and other meats were dried.
Later, fruit and vegetables started to be dried too, a particularly popular practice amongst the Romans. Even in the Middle Ages, all kinds of foods were dried using ‘still houses’.
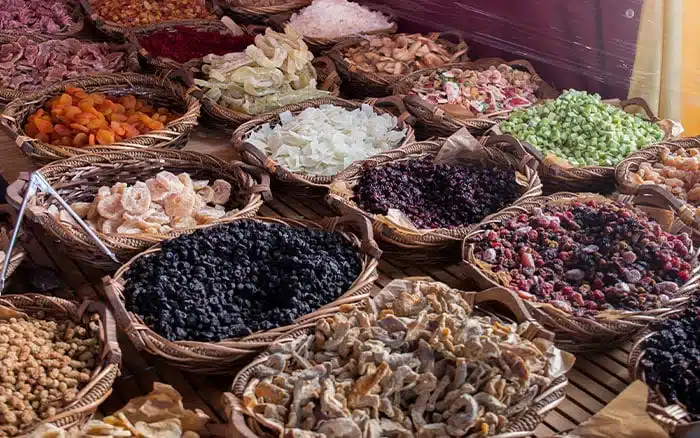
What foods can you dry?
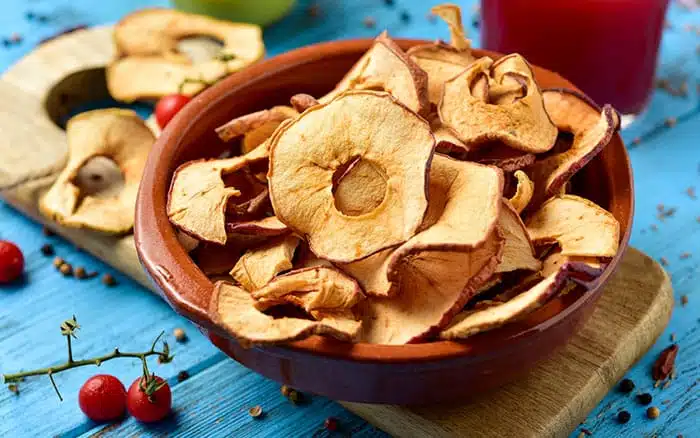
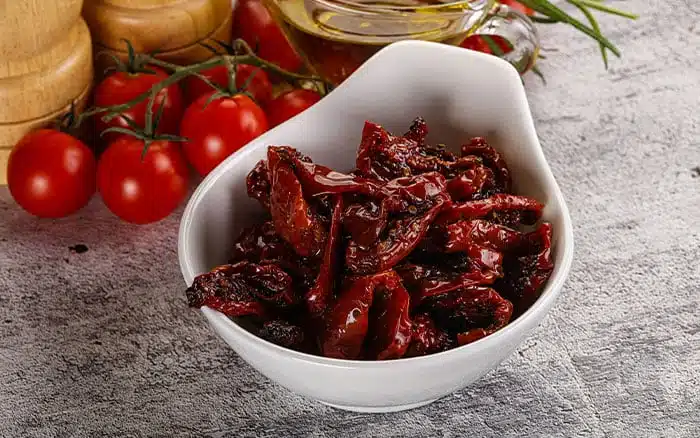
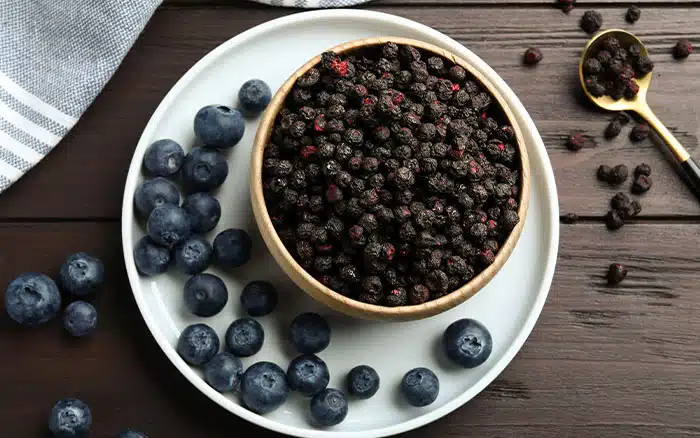
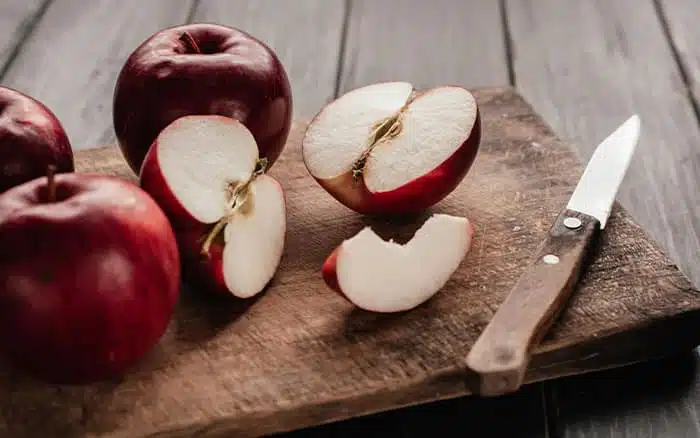
You can consider quite a large variety of foods for drying from your harvest. Apples are perfect when sliced, as are pears, tomatoes and strawberries. Others are better suited to drying whole, particularly smaller ones, like blueberries and grapes.
Herbs are also great for drying on their stems, which can easily be incorporated into meals for a punch of flavour. Drying is quite an important part of the storage process for bulb foods like onions and garlic. This helps the outer layers to turn papery, helping them to last longer.

How to dry onions
First, you need to leave them out to dry by laying them out. If, when you harvest them, it is quite sunny, you can just leave them out for a few days.
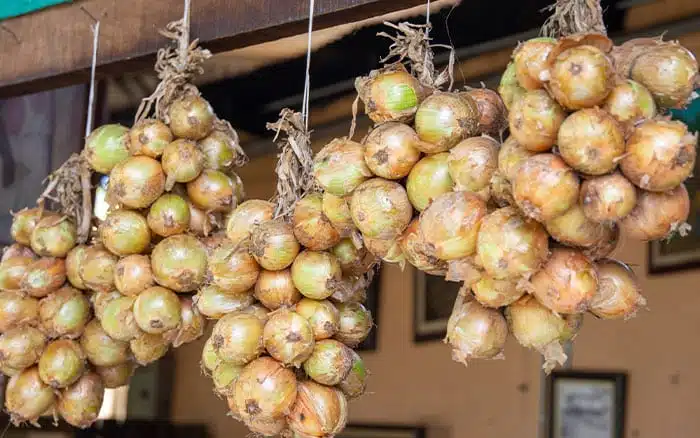
However, if the weather is rainy, cloudy, or quite humid, lay them out indoors. Do so on baking trays, or metal drying racks.
After drying them for a few days, you can try to string them together to hang them.
Using a length of twine, working from the bottom, tie the tops of each onion onto the twine. You could either use a classic knot or a noose-like knot.
The weight of the onion itself will keep it in place. Work your way up the twine, and then hang up somewhere cool and dry until you’re ready to use them.
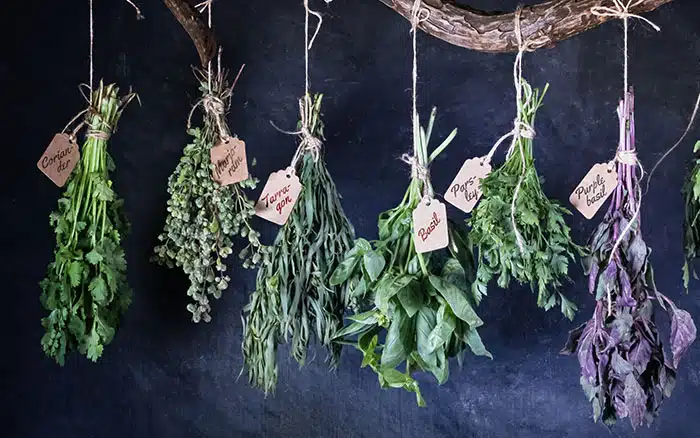
How to dry herbs
The most effective way to dry herbs is to air dry them. Much like onions, this ultimately means hanging them up in a cool, dry place.
Cut your herbs fresh in bunches and tie them together about a third of the way up the stems.
At this point, you may decide to tie onto the foliage ends a paper bag or paper wrap. This can help speed along the drying process and can catch any falling leaves as they dry.
However, this is completely optional, and the drying herbs themselves make an attractive feature.
Hang your herbs up somewhere inside away from direct sunlight or moisture. Try from eaves, ceiling beams, or even picture frames or washing line wire and pegs. Whatever works for you!
Leave them to dry for between 5 days and a couple of weeks. You’ll know they’re completely dry once the leaves have gone quite crisp to the touch.
Finally, store them in airtight containers to help them last longer.
How to oven dry
There are a great many foods which can be dried and dehydrated by using the oven. Fruit and vegetables are great for oven-drying, but it is worth planning around your cooking plans. Some fruits and vegetables can take up to 12 hours to dry completely in the oven, so make sure you won’t need it during that time.
Make sure you wash, and if necessary, peel your fruits and vegetables. Then, cut them into stripes or thin slices. If your vegetable is something you would typically cook before eating, you may want to steam-cook them first to get the best results.
Next, spread them evenly on a baking tray with greaseproof paper, or, if their size and structure allow, directly onto the wire racking.
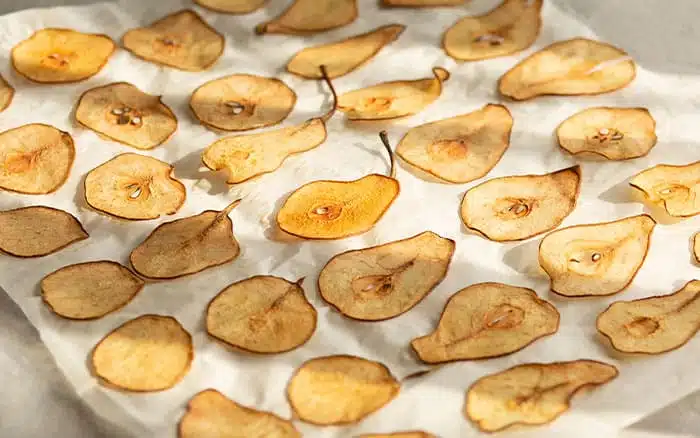
Put your oven on the lowest temperature it has available, no higher than 60 degrees Celsius if possible. If your oven doesn’t go this low, regularly open the door during the process to let some excess heat out.
Place your fruit and vegetables into the oven. Set yourself regular timers to open the door to let excess heat and moisture out. Whilst you are doing this, turn your trays too. This ensures the food is all getting the same, even treatment. You may also want to flip your foods over periodically to make sure both sides are evenly dried.
Judge your fruit and vegetables individually to figure out whether they have completed the drying process. Vegetables should go brittle, whilst fruits will end up with a leathery texture. Give them 30 minutes to an hour to cool after removing them from the oven. You can then store your oven-dried fruits and vegetables in an airtight container, somewhere cool and dark.
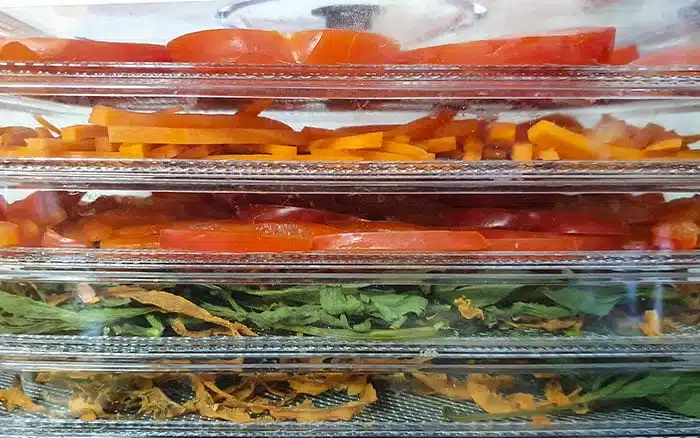
Home dehydrators
If you make a habit of drying your homegrown harvests regularly, it may well be worth investing in a dehydrator. Not only does this save you time, but it also frees up your oven to make other delicious meals. They are specially designed to evenly remove moisture from food at a low temperature whilst maintaining air circulation in a way that ovens are not.
Depending on your food drying needs, you can get commercial dehydrators for as little as £40 online in the UK, although the price increases with quality and size.
Drying your food helps it to last longer, maintaining your crop to enjoy for months beyond harvesting. Try your hand at drying your food this year.
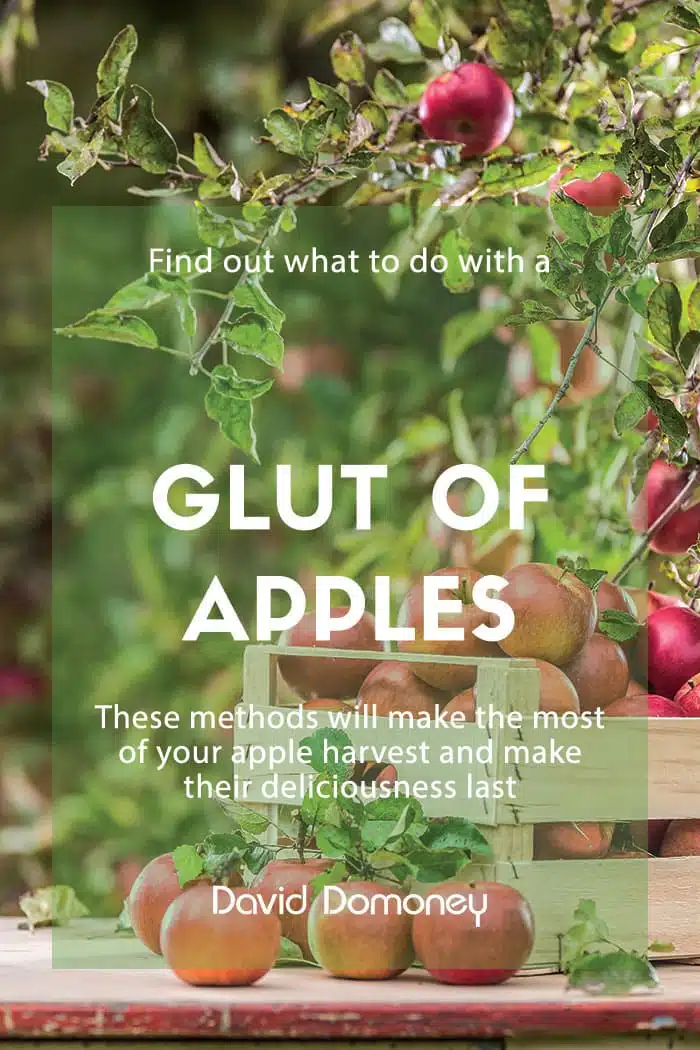
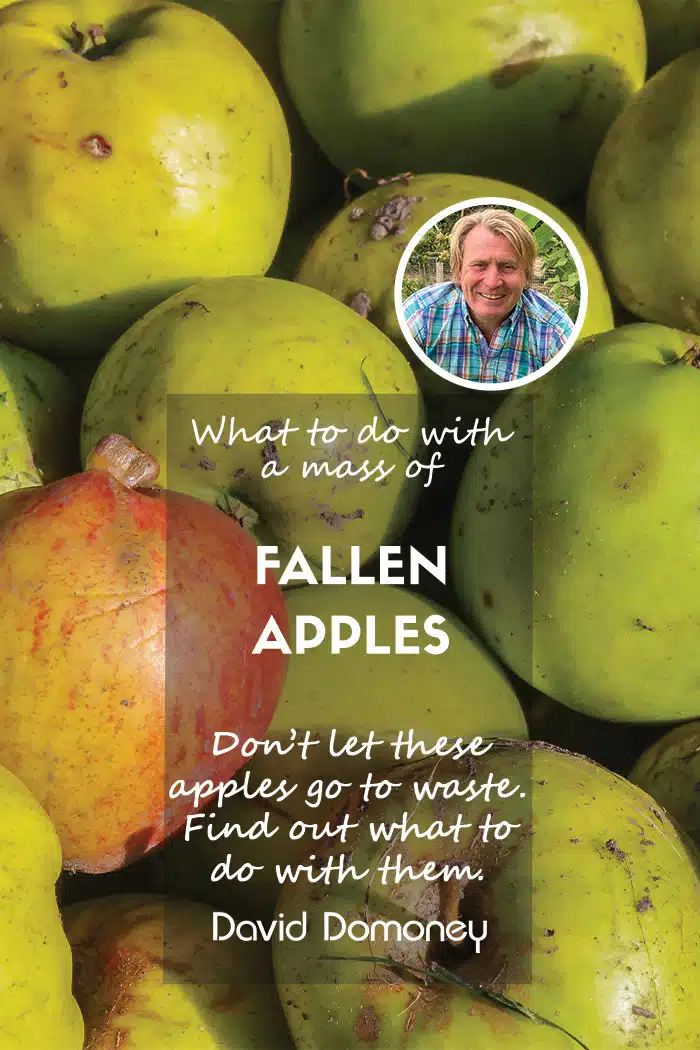
Find some inspiration of what to do with your apple harvest:
Or check out my Pinterest board for more ideas:


David Domoney is a Chartered Horticulturalist, Broadcaster, and Author. David has worked with a number of the UK’s leading garden retailers as a plant buyer and strategic consultant. With more than 30 years experience, in horticulture, David is as passionate about plants now as he was when he bought his first plant at a village fete.

Leave A Comment