If space is at a premium where you live, yet you still want to grow your potatoes, you can do this by growing them in a dustbin.
Now, the method that I will be laying out uses seed potatoes.
Why am I using these and not supermarket potatoes?
Seed potatoes have been bred to produce plants that will fruit edible potatoes.
These are certified to be virus-free and grow vigorous plants.
This means the potatoes you grow are healthy and have better texture and taste.
Supermarket potatoes are the “fruit” of a plant bred to be eaten and have a long shelf life.
When you try to grow using these potatoes, you run the risk of viruses or pathogens entering your soil. This is because supermarket potatoes don’t have to be certified for growing, meaning any disease picked up by the potato can impact your whole crop and contaminate your soil for future plantings.

The method
This method of growing seed potatoes is best suited for first and second early varieties.
First early potatoes
You can plant first early seed potatoes in the ground in late March to early April once the risk of hard frosts has passed. However, when growing in a container like a dustbin, you just need to ensure that the container is in a frost-free location. These potatoes will be ready for harvesting in June or July.
Second early potatoes
When it comes to planting out second early potatoes, you do this from early to mid-April. Your second early crop can be harvested in July and August.
Main crop potatoes
These seed potatoes you plant out from mid to late April. The main crop varieties will be ready to be lifted from late August into October.

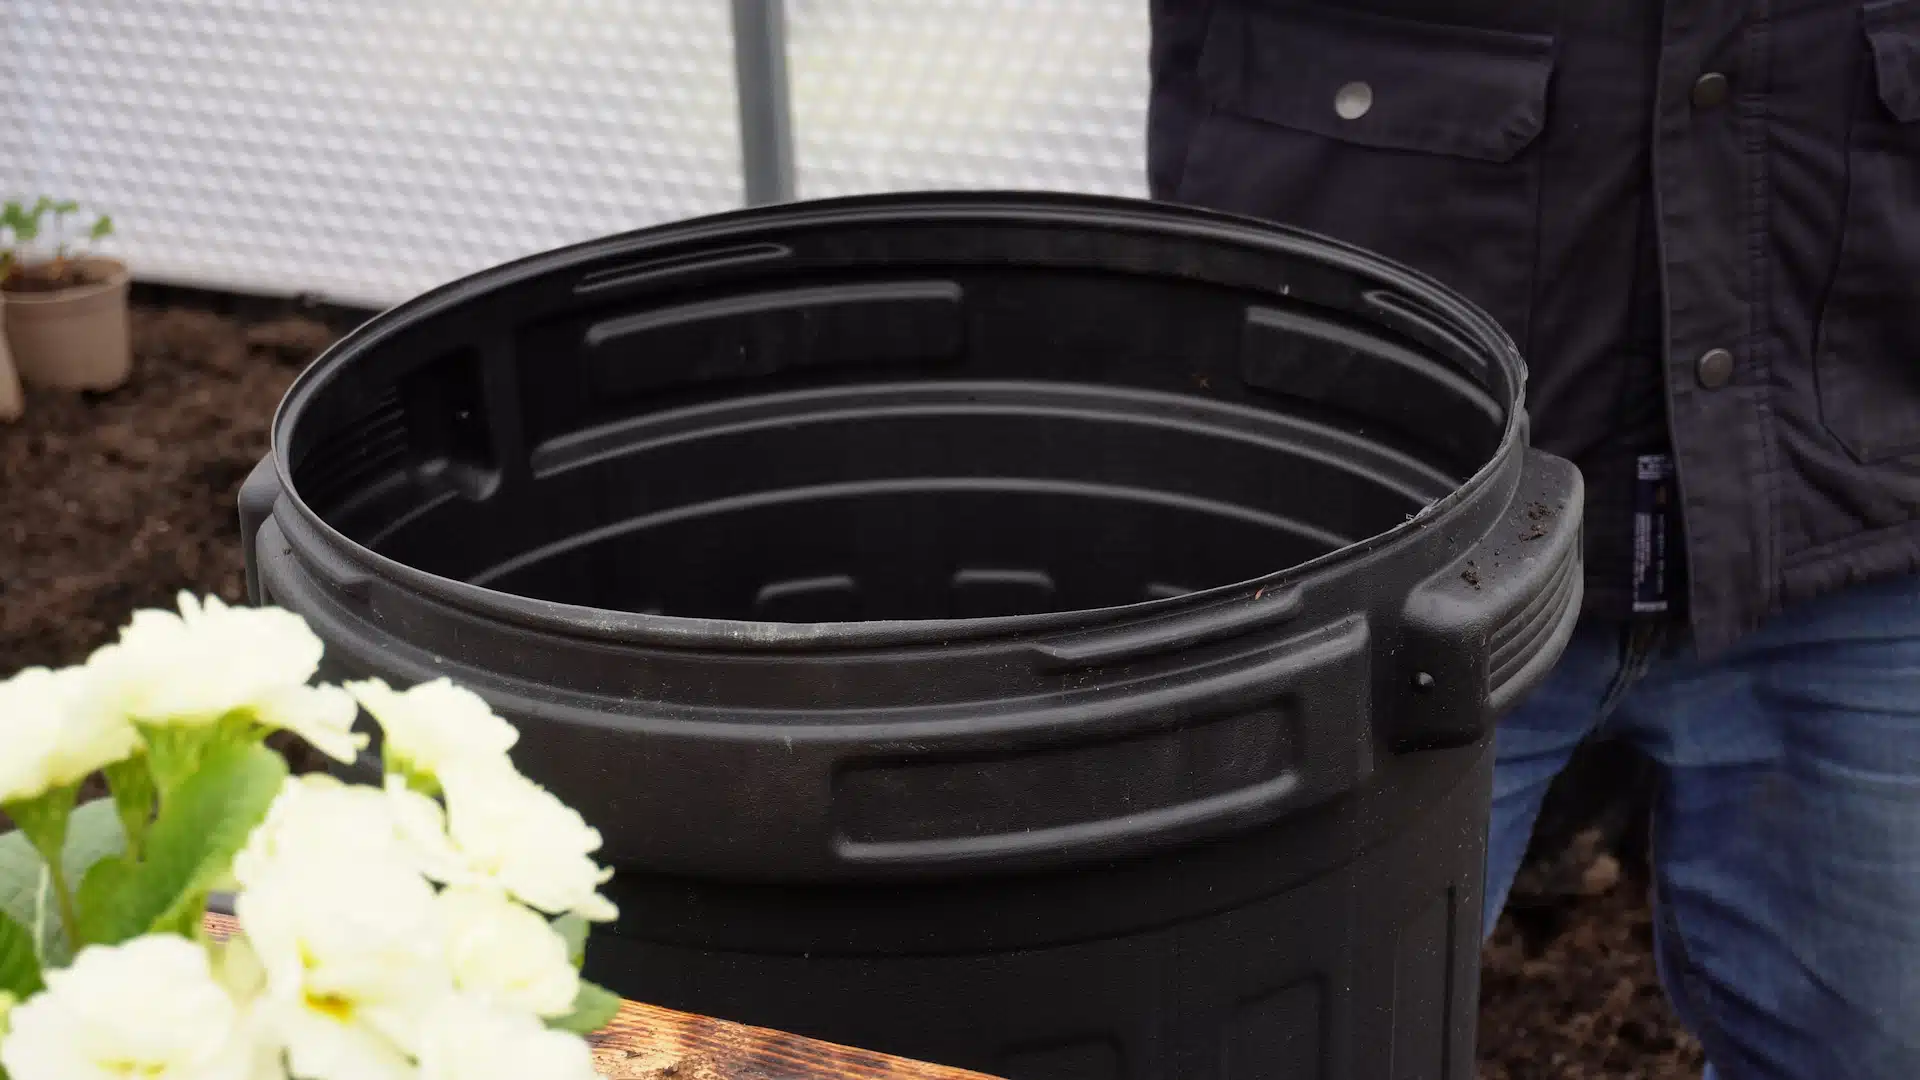
Size of the dustbin
To be successful with this method, the container needs to be at least 40L.
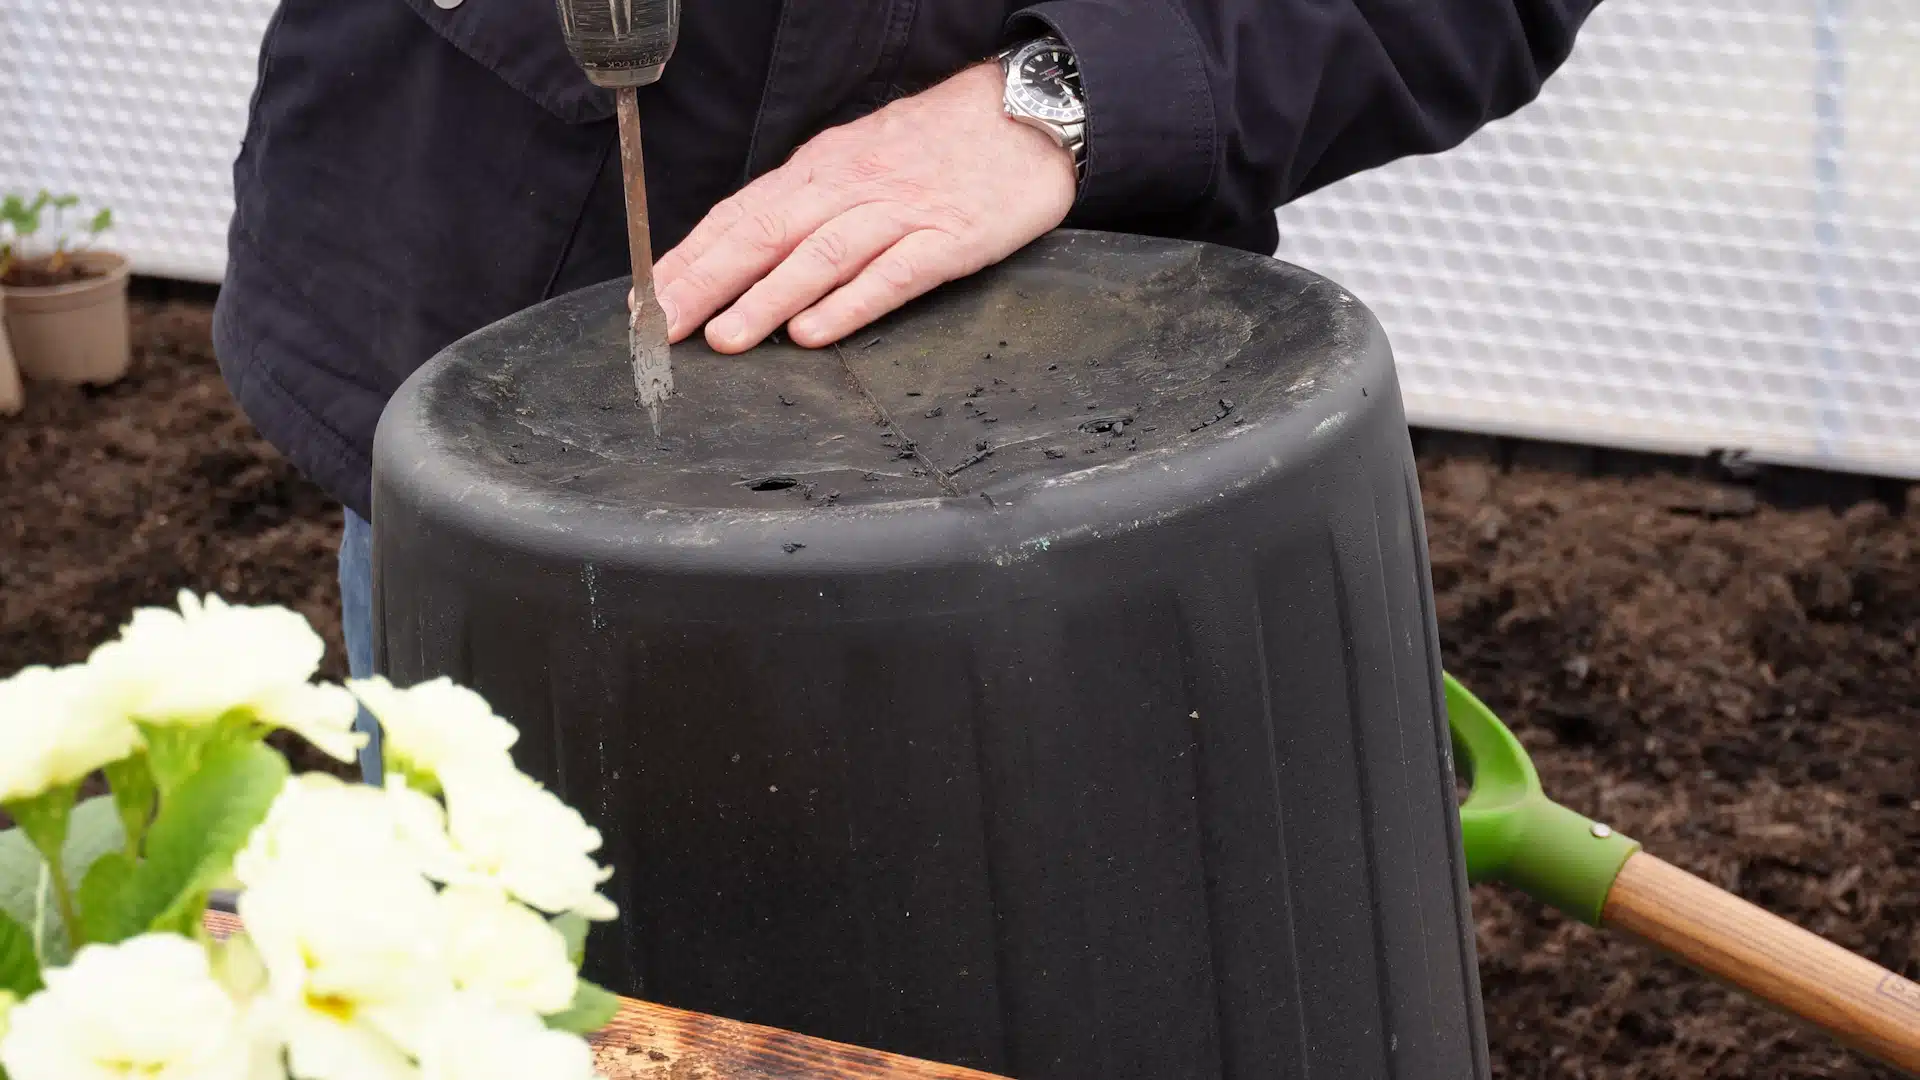
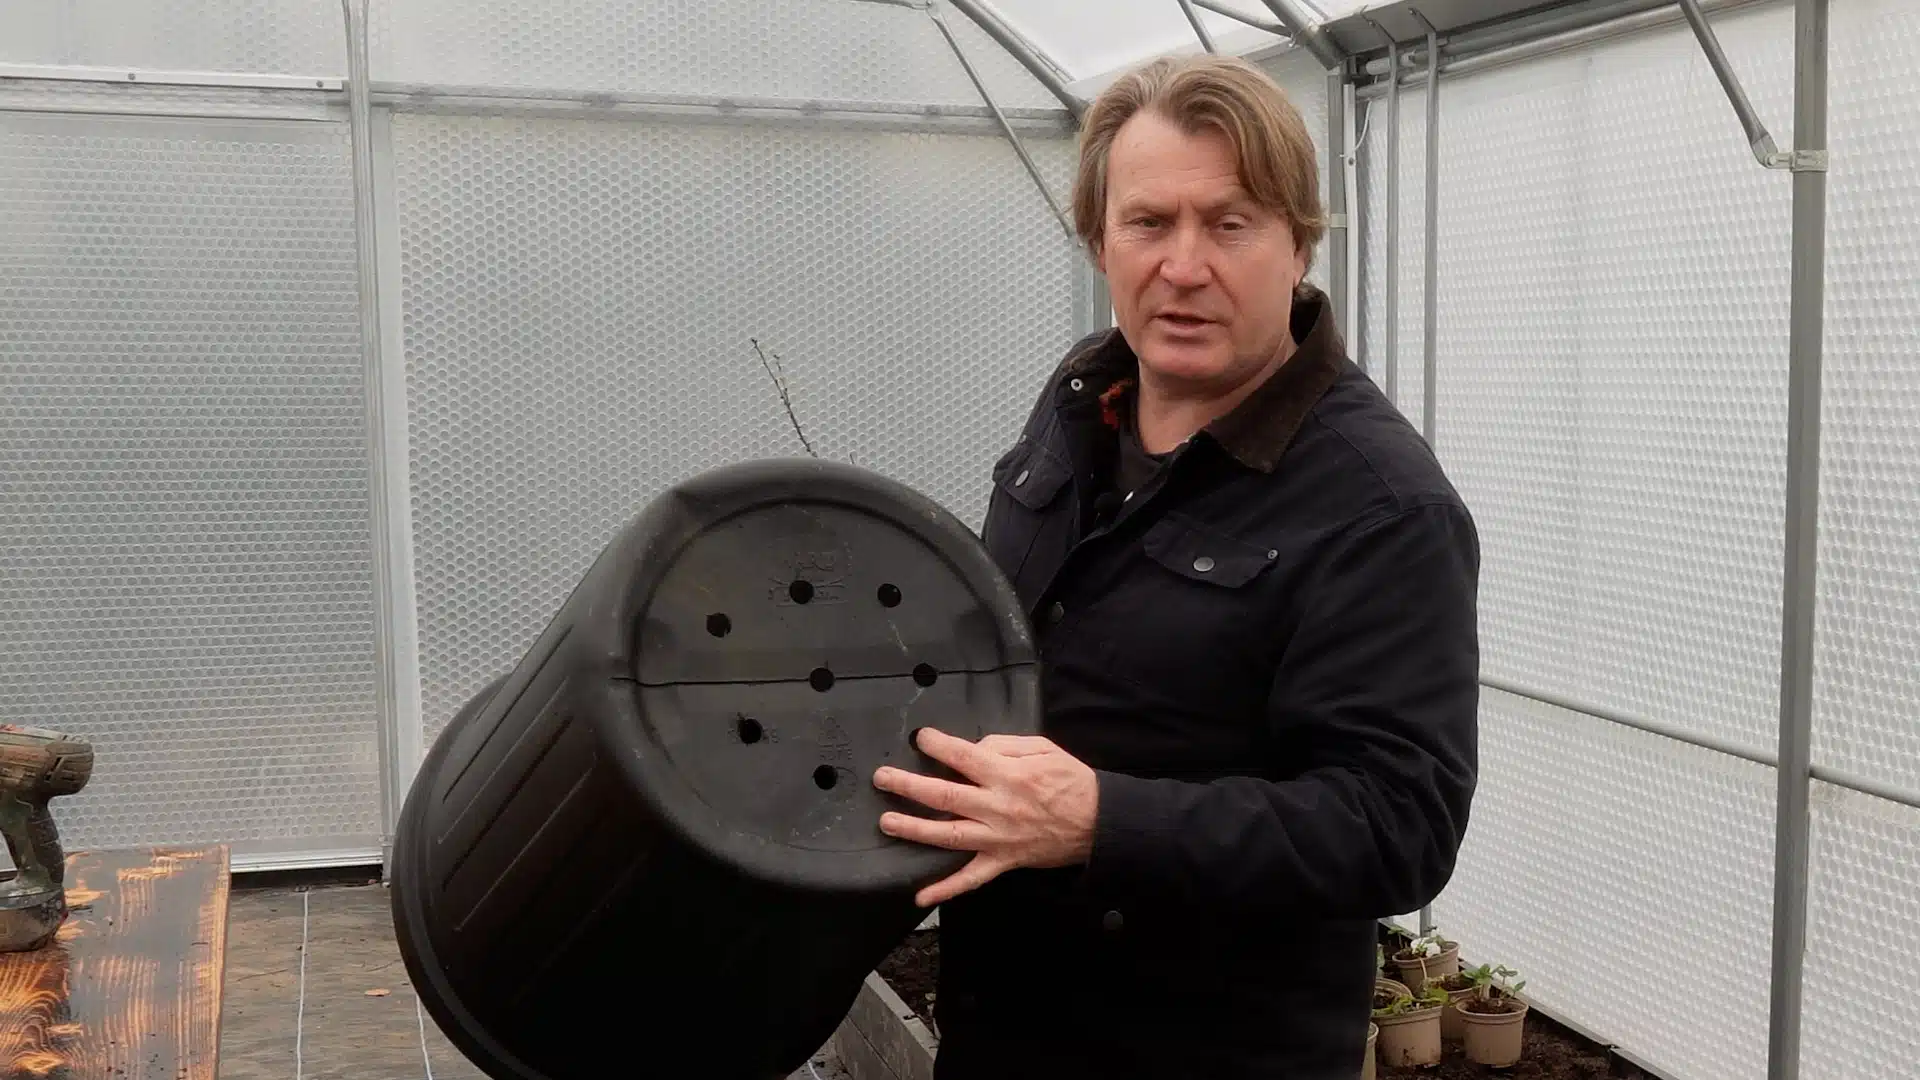
You need to drill drainage holes at the bottom of the dustbin. I use a router fitting on my drill to create a decent-sized hole.
Remember, if you are growing the potatoes in a bin outside, place them in a sunny, frost-free position.
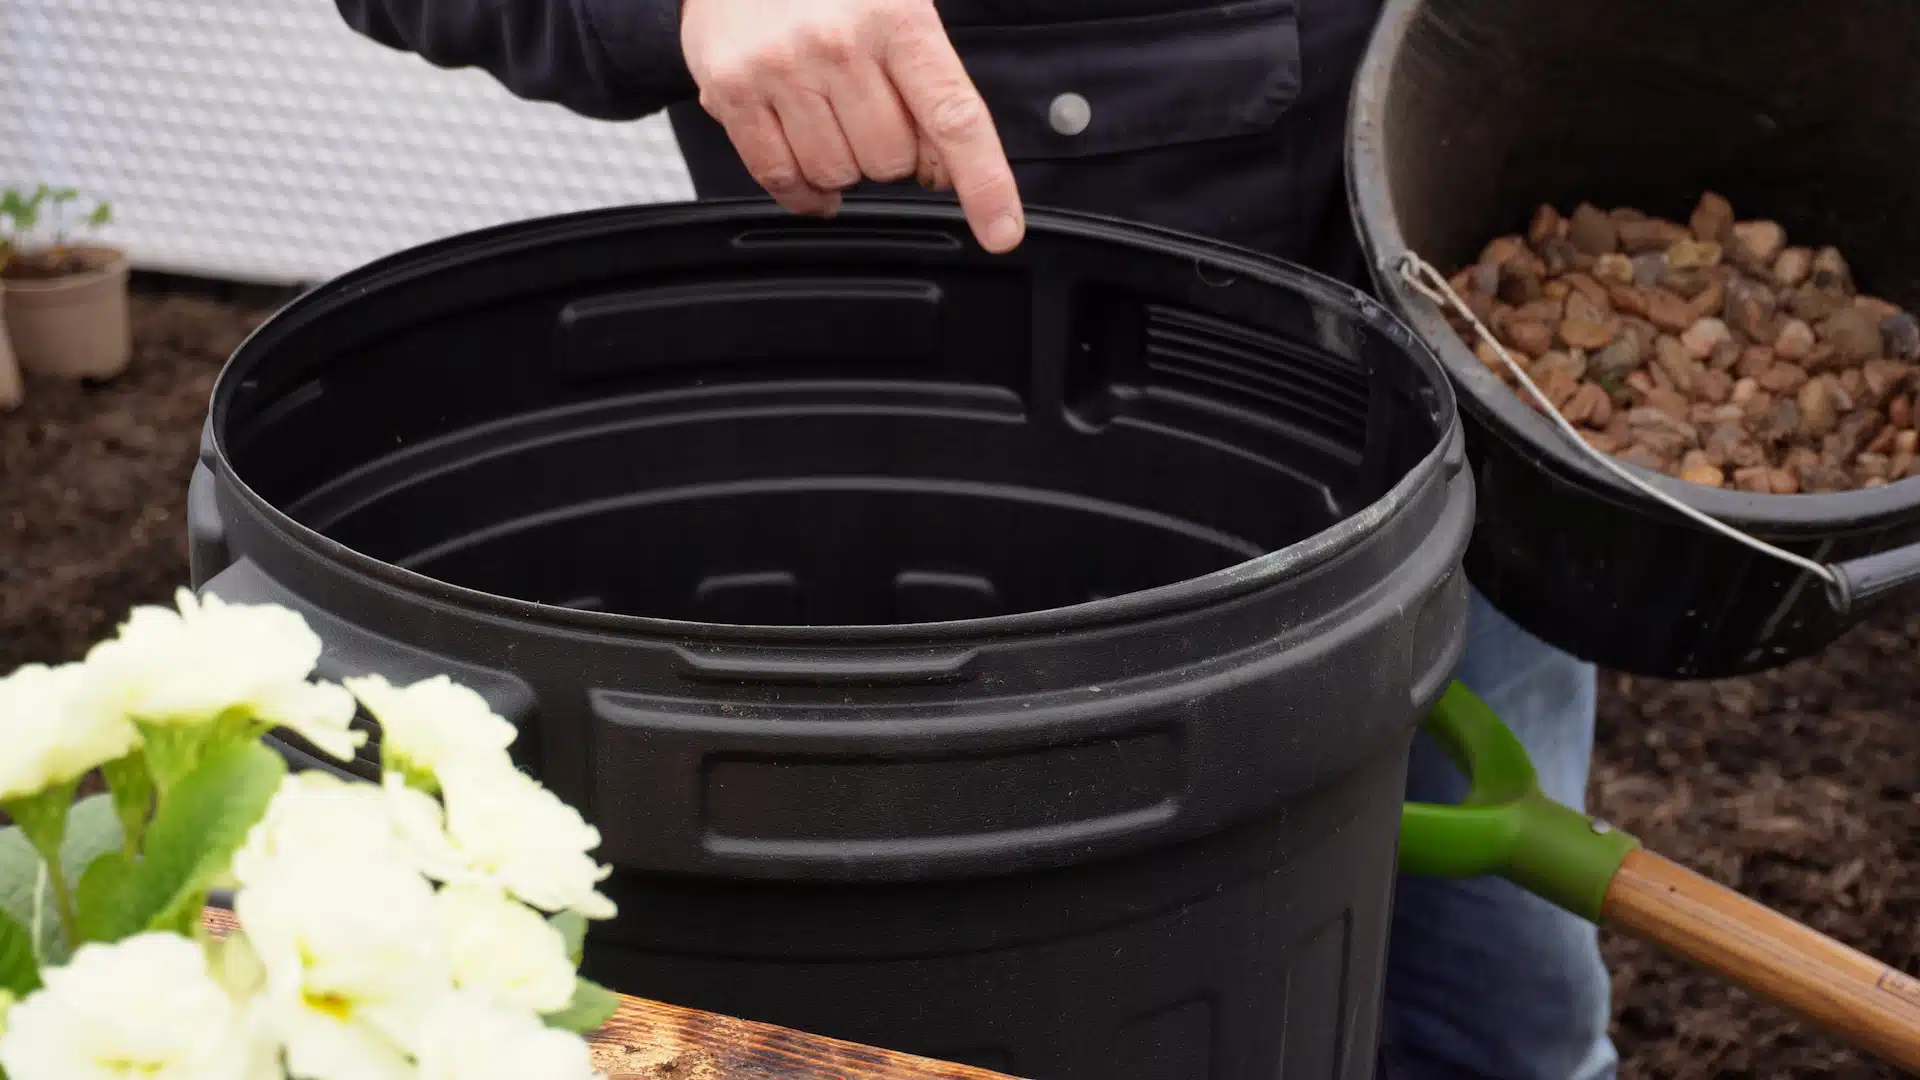
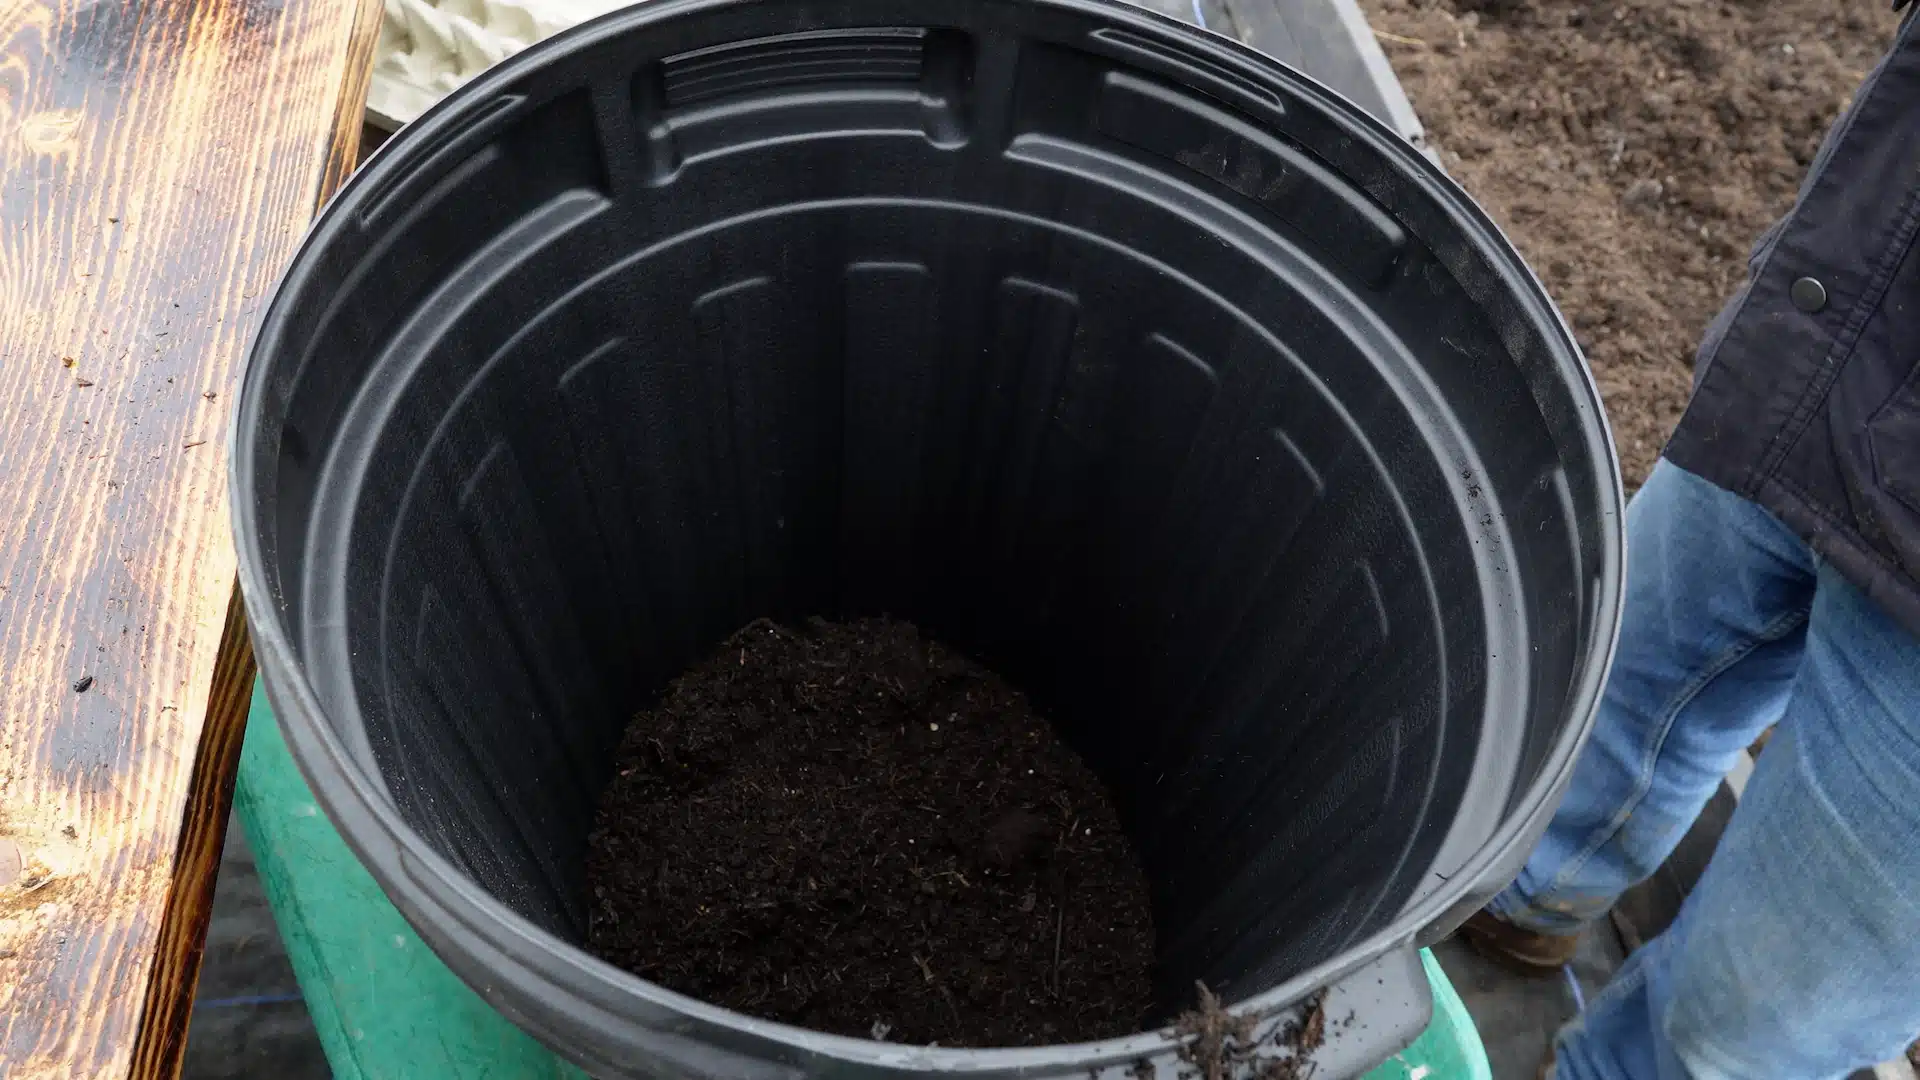
I like to add some gravel to the bottom of the bin to improve drainage. You can then start to add in 10cm of Peat-Free multi-purpose compost to the container. It may also help to add in some manure, but it is not essential.
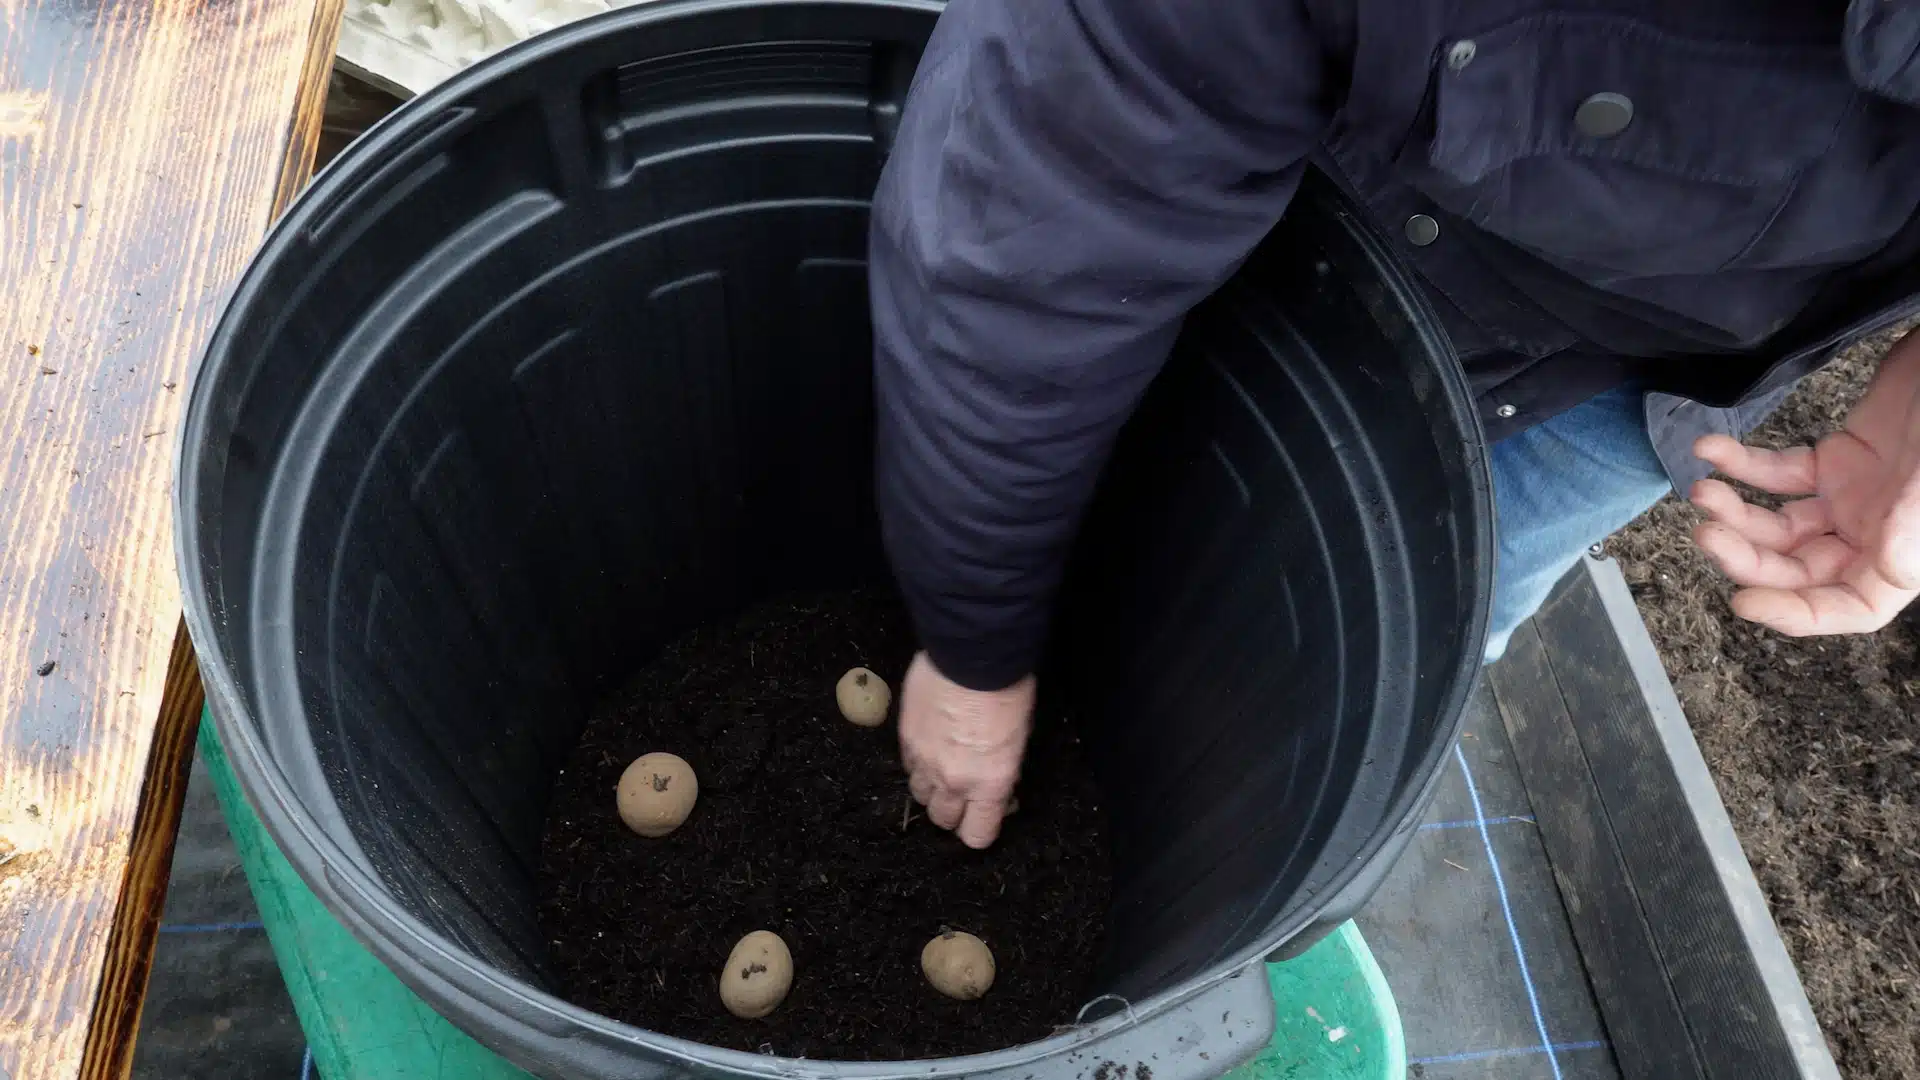
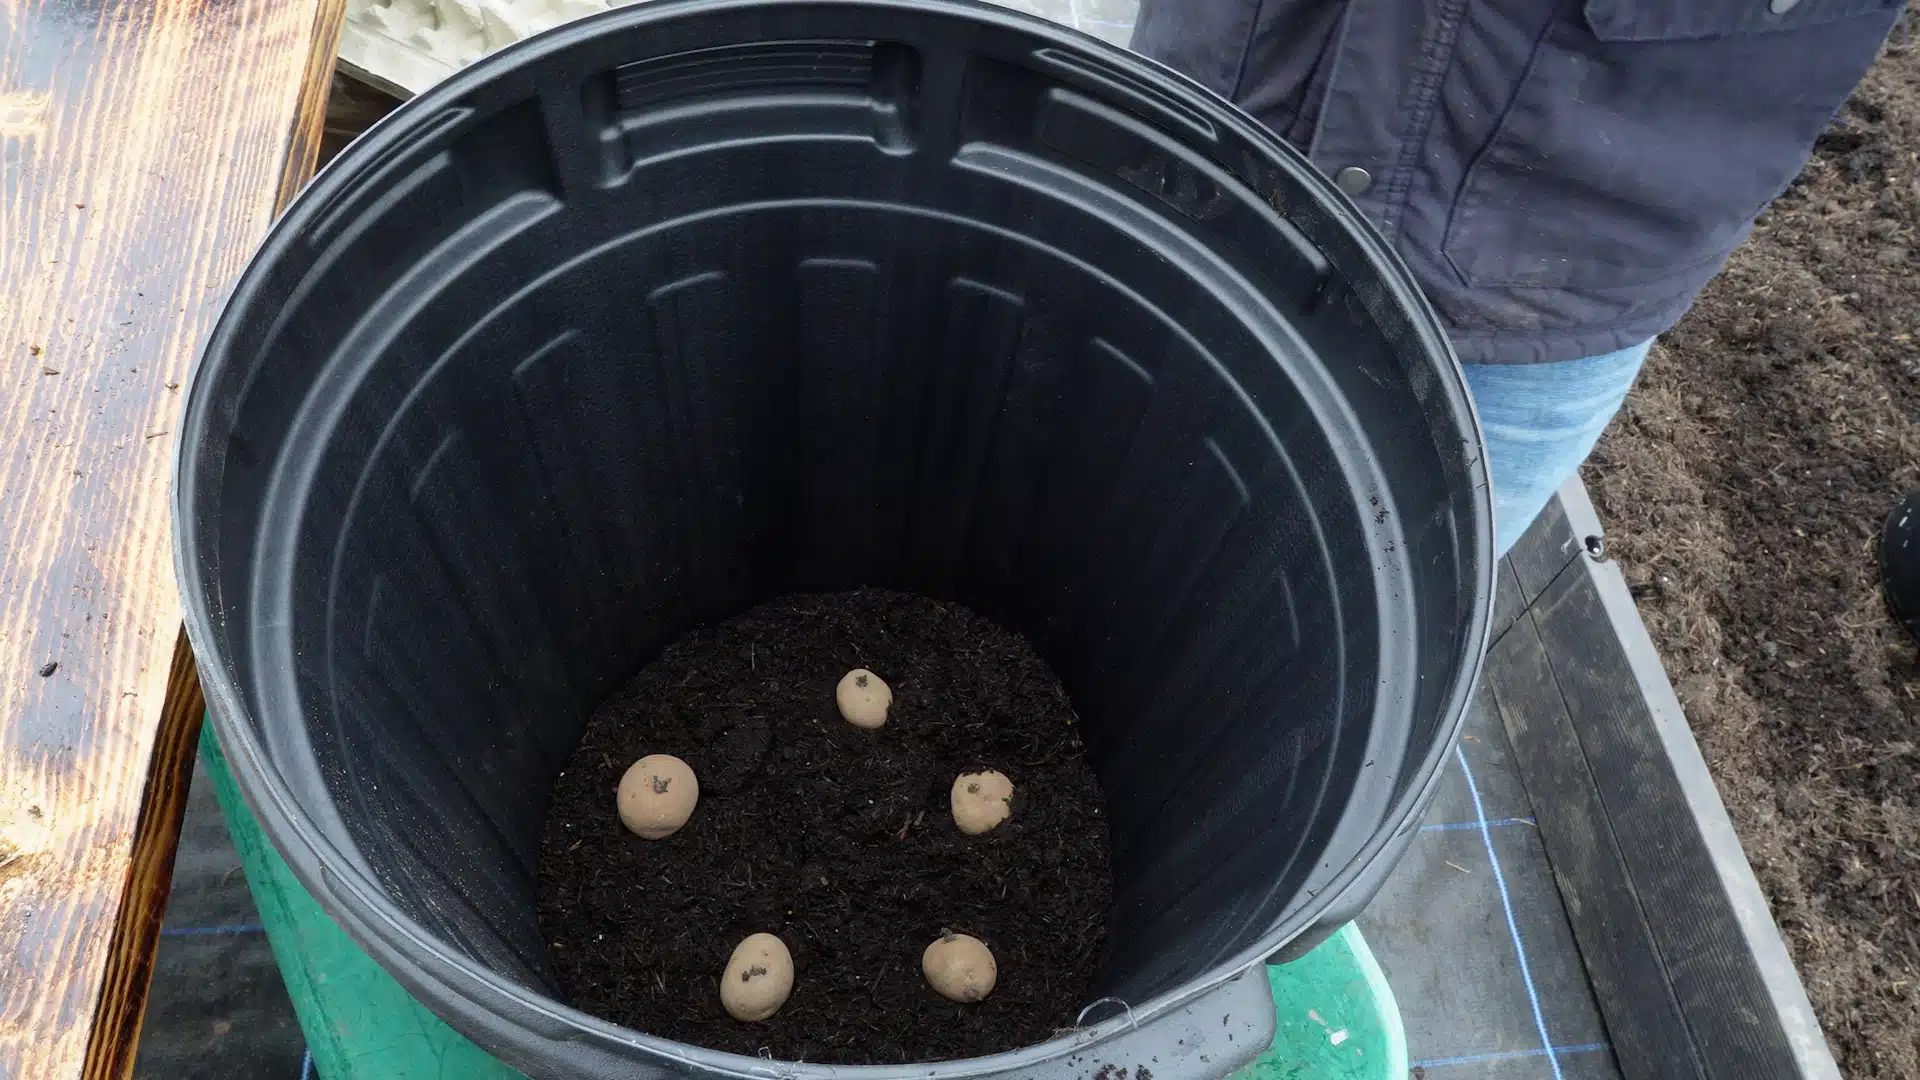
Place 3 to 5 chitted seed potatoes a hand-width apart on the surface of your compost. Then, cover them with 8-10cm of compost and water well.
Shoots
Once the shoots start to grow to around 8cm, cover them with 10cm of compost. Keep repeating this method until you have reached the top of the bin. This method is called earthing up. You do this so that the seed potato develops a strong plant that will produce lots of potatoes.
You can finally harvest your crop once the plants start to flower.
Tips
Soak the pot every two or three days, and allow the compost to almost dry out between watering to promote steady spud formation.
Please note that smaller yields are likely when growing in a bin due to limited space compared to the ground. However, you can use more bins to increase your yield.
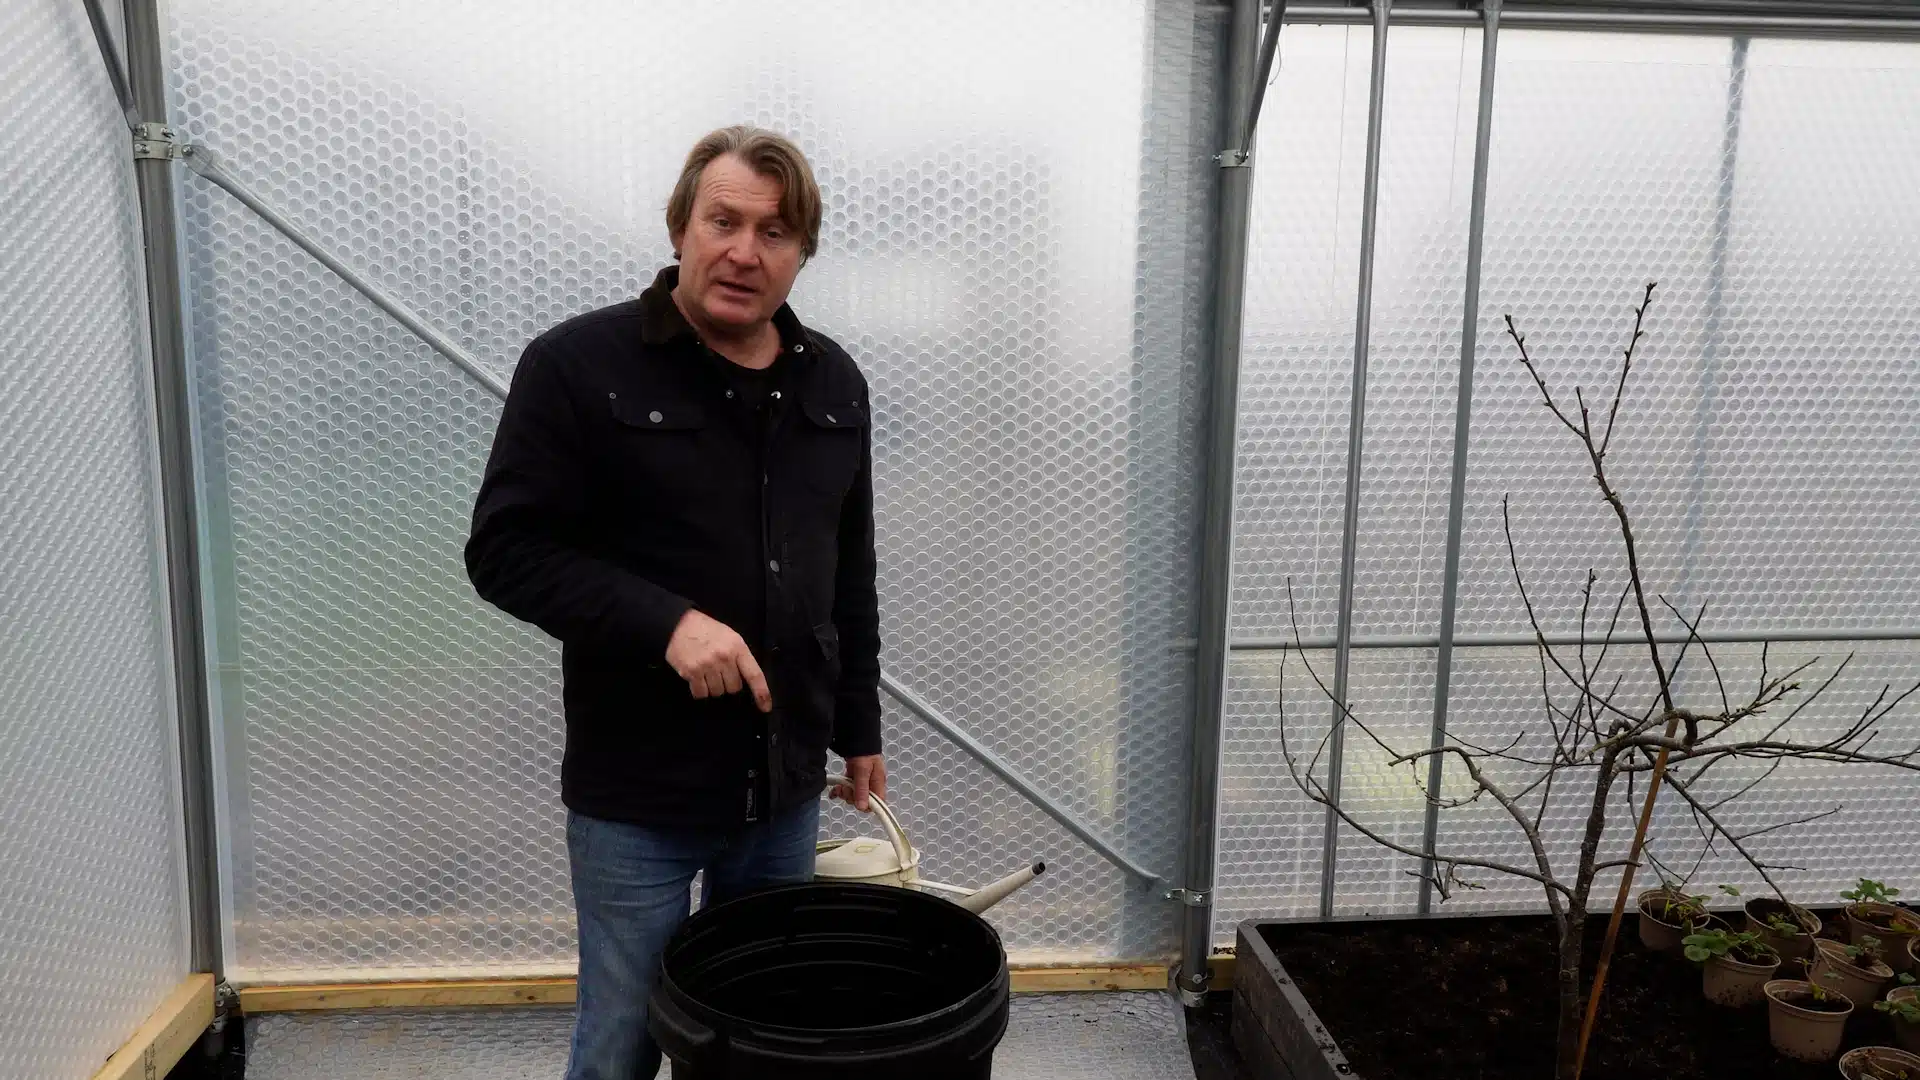
David Domoney is a Chartered Horticulturalist, Broadcaster, and Author. David has worked with a number of the UK’s leading garden retailers as a plant buyer and strategic consultant. With more than 30 years experience, in horticulture, David is as passionate about plants now as he was when he bought his first plant at a village fete.


Leave A Comment